If you’re struggling to set up the Facebook Pixel with Google Tag Manager in WordPress, then this tutorial is for you.
This is an easy step-by-step tutorial that will guide you through the whole process.
By the end of this article you will have all your tracking up and running including: page views, product views, add to carts, initiate checkouts, purchases, and even a custom timer trigger.
Let’s jump right in!
1. Setting Up Facebook Pixel Events in Google Tag Manager
The easiest way you can do this is by using the Google Tag Manager for WordPress plugin along with a GTM custom template created by Simo Ahava.
Normally, if you wouldn’t have Simo’s template you would need to know JavaScript, how the Facebook Pixel works, and then create tags, triggers and variables for each standard and custom event you’d like to track.
Luckily, this template makes everything easier.
Going forward, I will assume that you already have a Google Tag Manager account and that you have implemented it correctly on your website with the GTM4WP plugin. If not, before continuing, please see: How to Install Google Tag Manager for WordPress.
To start using Simo’s Facebook template, once you’re in Google Tag Manager you have to go to Tags → New → Click on Tag Configuration → Click on “Discover more tag types in the Community Template Gallery” and then just search for “Facebook” and choose Simo Ahava’s template and add it to your workspace.
It will then ask you if you are sure you want to add the community template, where you will confirm you do.
After confirming, your first tag window will appear, which we will name FB – PageView. This will be the base pixel, which will fire on all your pages and also register Page Views.
Here you will have to input your Facebook Pixel ID and for Event Name be sure to have the Standard Event PageView selected.
For Trigger, choose All Pages and then just save the tag.

Congratulations! You just got your base pixel installed and are now registering your Page Views with the Facebook Pixel.
If you want to test this implementation right now, you will need to click the blue Submit button in the right upper corner of your GTM dashboard.
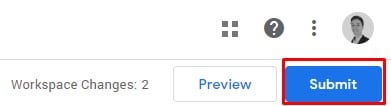
If you’re in no rush, you don’t need to submit now. Just follow along and implement the rest of the tags and we can test everything together in the last step.
2. Enhanced Ecommerce in Google Tag Manager
This part is for those of you that want to set up Google Tag Manager for Ecommerce.
Here I will show you how to correctly track all the important events an Ecommerce site needs: Add to Cart, Initiate Checkout and Purchase.
This implementation will also dynamically pull the values of your Ecommerce events into Facebook. This means that you will always see the value of items added to carts, checkouts and purchases.
Thanks to Simo Ahava, Enhanced Ecommerce has never been easier to set up.
For ease of use, just duplicate the tag we just created and rename it to FB – AddToCart, InitiateCheckout & Purchase. You can do this by opening the previously created tag, clicking the 3 dots right next to the save button and choosing Copy.
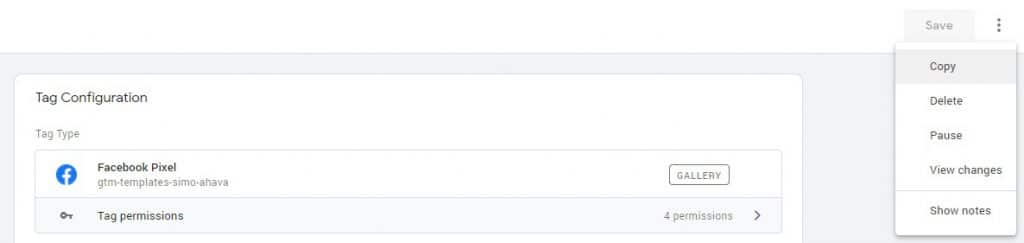
This will also automatically open the newly created copy.
Your Facebook Pixel ID will already be in there, so you don’t need to add it anymore.
Under the Facebook Pixel ID, there will be a checkbox for Enhanced Ecommerce dataLayer integration. Be sure to check this.
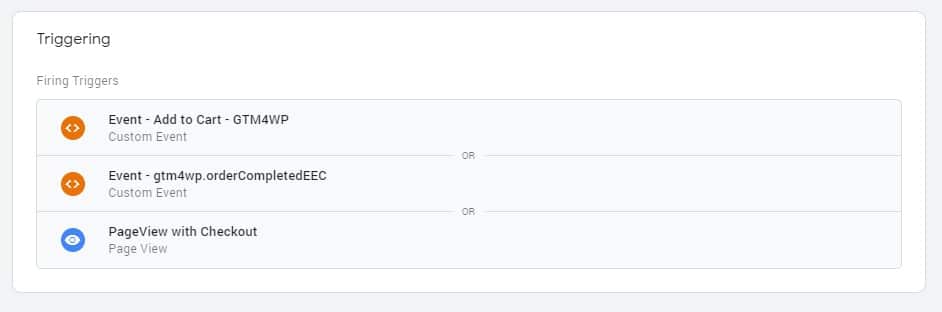
As for Triggering, we will need to have a trigger for each of the 3 eCommerce events we want to track.
Therefore we will have the following triggers: Add to Cart, Order Completed (for Purchase) & PageView with Checkout (for InitiateCheckout).
Their configurations will be as follows.
2.1. Add to Cart Trigger
Click to add a new trigger.

And in Trigger Configuration you will choose Custom Event.
Name this event Event – Add to Cart – GTM4WP and in the Event name input gtm4wp.addProductToCartEEC, then save the trigger.

2.2. Initiate Checkout Trigger
Create a new trigger and name it PageView with Checkout. Select Page View for Trigger Type.
Then, for “This trigger fires on” select Some Page Views. Next, we will need to create a New Variable for “Fire this trigger when an Event occurs and all of these conditions are true“.
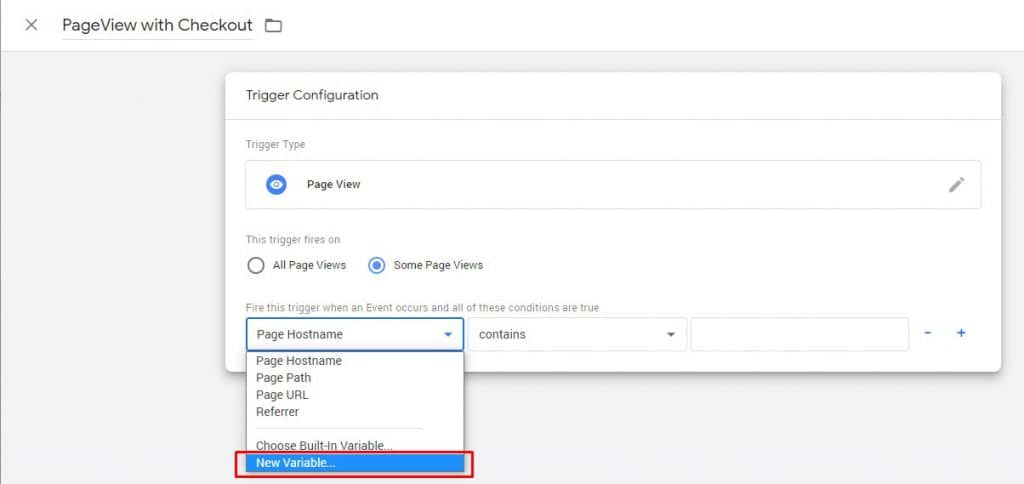
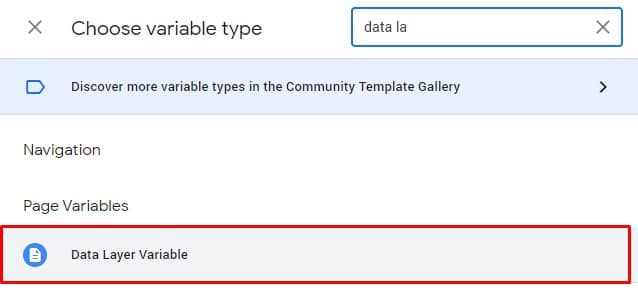
Please select New Variable and pick the Data Layer Variable type.
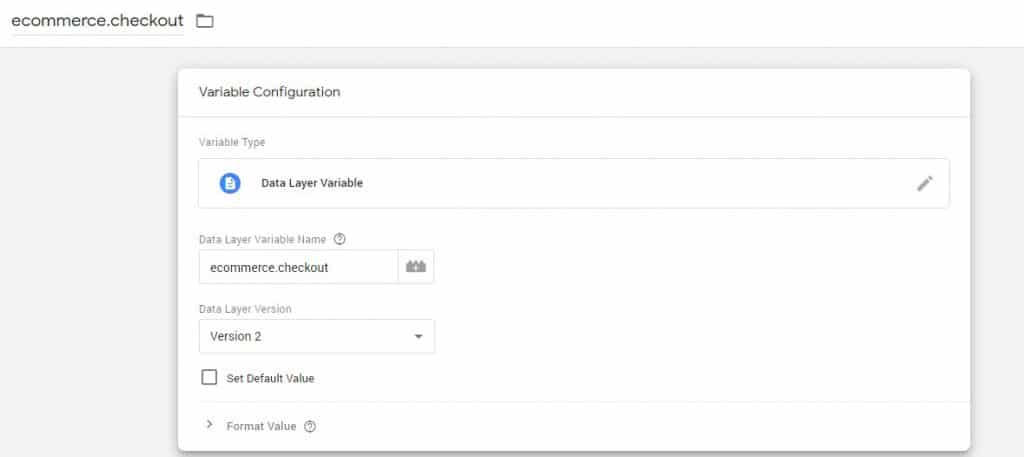
Name it ecommerce.checkout and as Data Layer Variable Name please input ecommerce.checkout as well, then save it.
Now you will be back to your PageView with Checkout Trigger Configuration page, where you will be able to select ecommerce.checkout in the first dropdown of “Fire this trigger when an Event occurs and all of these conditions are true“.
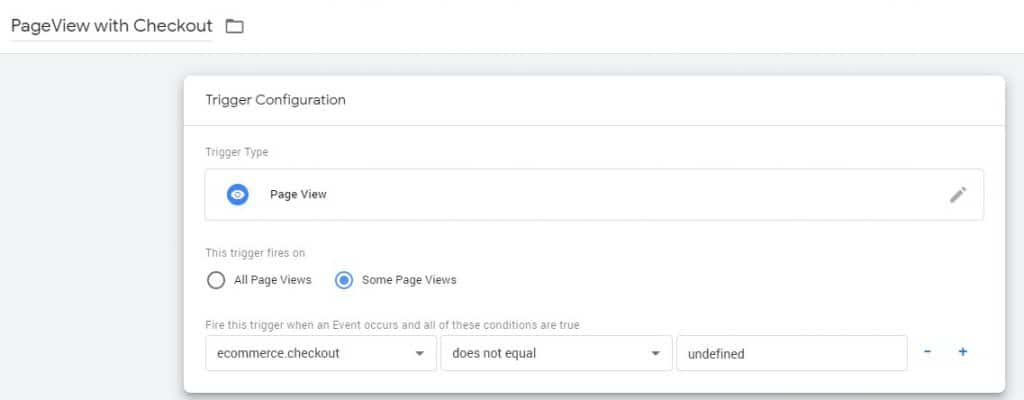
In the second dropdown, you will choose “does not equal” and in the third one, you will write undefined. Now save your trigger.
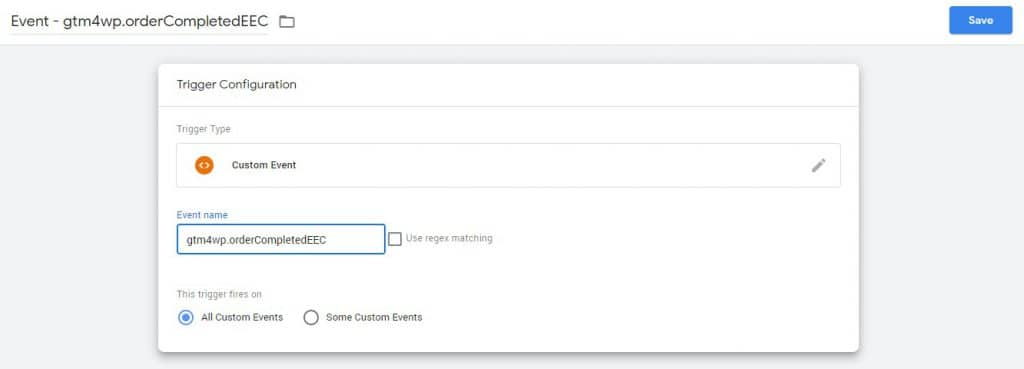
2.3. Purchase Trigger
Create a new trigger and name it Event – gtm4wp.orderCompletedEEC.
For trigger type, pick Custom Event and in Event name input gtm4wp.orderCompletedEEC. Save your trigger.
Once you have finished adding all of the 3 triggers above, save your tag.
Your final tag configuration should look like this:
Congratulations! The Facebook Pixel will now correctly register your Add to Carts, Initiate Checkouts and Purchase Events!
3. Optional Ecommerce Events
These integrations will be for those of you that would like to track ViewContent and retarget people by time spent.
3.1. ViewContent Event
Some of you might be wondering what is the difference between ViewContent vs PageView.
The standard event ViewContent will track only product page views, while PageView triggers & tracks on all pages.
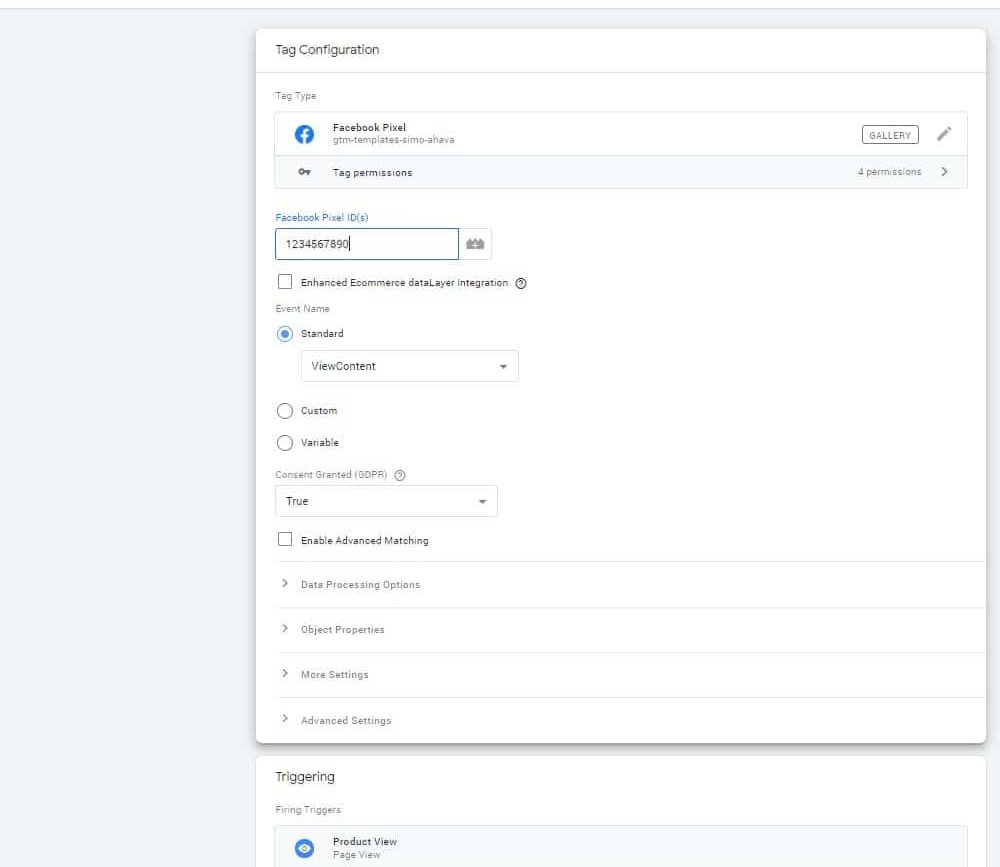
To track view content events, you will need to create a new tag.
For ease of use, just duplicate your previously created FB – PageView tag and rename it to FB – ViewContent.
Next, instead of the PageView Standard Event, please pick ViewContent.
In Triggering we will have to create a new trigger.
Name it Product View and for the trigger type, select Page View. On “This trigger fires on” select Some Page Views.
Next, for “Fire this trigger when an Event occurs and all of these conditions are true” we will have to create a new variable.
We will name this variable ecomm_pagetype. For variable type, please select Data Layer Variable. Finally, in Data Layer Variable Name, input ecomm_pagetype and save.
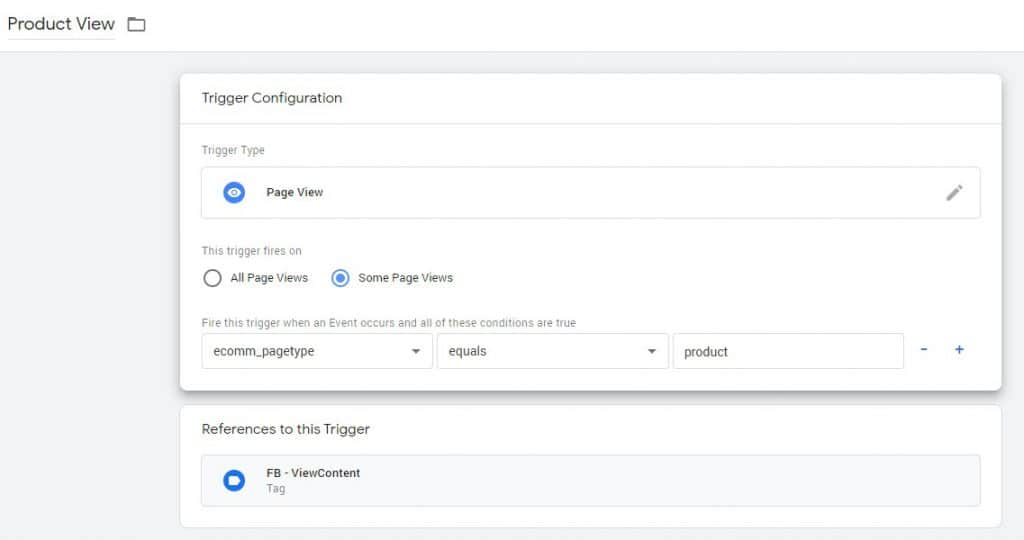
This will bring you back to your trigger, where you will now be able to select ecomm_pagetype in the first dropdown under “Fire this trigger when an Event occurs and all of these conditions are true“.
In the second dropdown you will select equals and in the third please write product. Save your trigger then save your tag.
Your final tag configuration should look like this:
3.2. Time Spent Custom Event
Let’s say that you only want to retarget people who have spent a certain amount of time on your website, because this means they showed more interest.
Let’s create a tag for it.
Duplicate any tag that contains your Facebook Pixel ID and for Event Name pick Custom and name it 20 seconds.
For trigger, you will need to create a new one and select Timer as your trigger type.
In Interval please input 20000, as it is in milliseconds (which will translate into 20 seconds). You can of course change this number to whatever fits your needs best.
In Limit put 1.
Next in “Enable this trigger when all of these conditions are true” select Event in the first dropdown, then matches RegEx in the second dropdown and finally type .* in the third box.
Save your trigger and your tag.
Now every time someone spends more than 20 seconds on any page of your website, this custom tag will fire and you can use it to retarget these prospects.
If you haven’t done so already, now is the time to submit your changes so that they take effect on your website. You do this by clicking the blue Submit button in the right upper corner of your GTM dashboard.
4. Testing your GTM Facebook tags
The two easiest ways you can test if your Facebook events are being tracked properly is via: Facebook Events Manager or Facebook Pixel Helper extension.
4.1. Facebook Events Manager
Once in Facebook Events Manager go to Test Events.
Here you will input your website and start the test by clicking on the blue button saying Open Website.
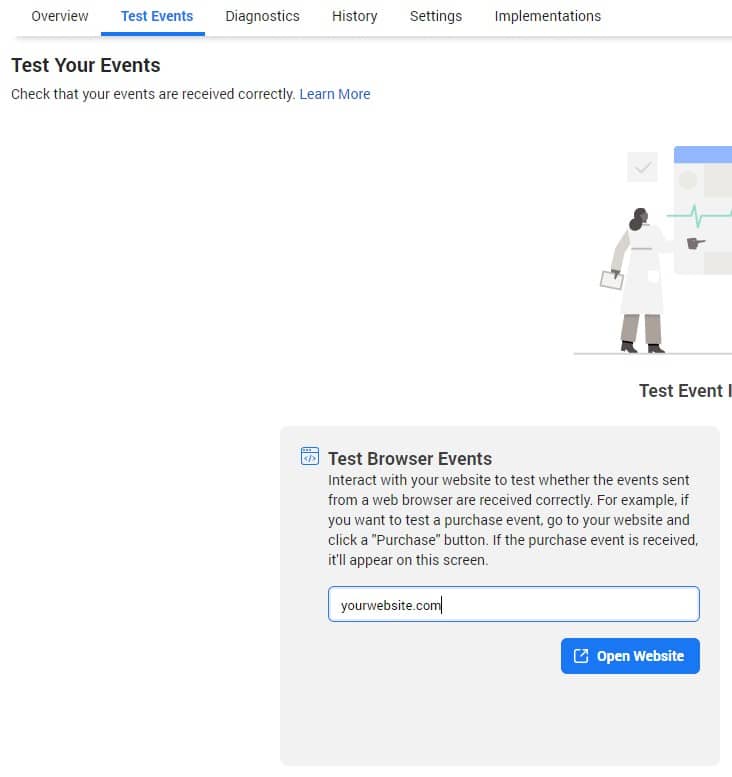
Once on your website, go to a product page, add the product to your cart, initiate a checkout, stay 20 seconds on a page and make a purchase.
If everything was implemented correctly when looking into your Facebook Test Events page, you will see the following:

4.2. Facebook Pixel Helper Extension
Firstly, download the Facebook Pixel Helper Extension.
Once installed, go to your page and run through each of the events that you want to trigger (as in the previous step).
Then click on the Facebook Pixel Helper icon and see if your events are being tracked correctly. If all is well you should see something like this:
Conclusion
A proper tracking setup is extremely important if you want to run successful ad campaigns.
I hope that by following this guide on how to install the Facebook Pixel with Google Tag Manager in WordPress, you managed to successfully implement your tracking.
If you have any friends that you think might benefit from reading this guide, please don’t hesitate to share the knowledge.
What was the hardest part for you?